Why is the shut off valve on my toilet leaking?
Why is the shut off valve on my toilet leaking?
The plumbing supply shutoff valves behind toilets or under sinks can go for years without being turned off and then reopened again. That inactivity can cause the neoprene washers to become either brittle or crusted up with mineral deposits, and they lose their ability to seal leaks.
What is the shut off valve behind the toilet called?
Stop Valve
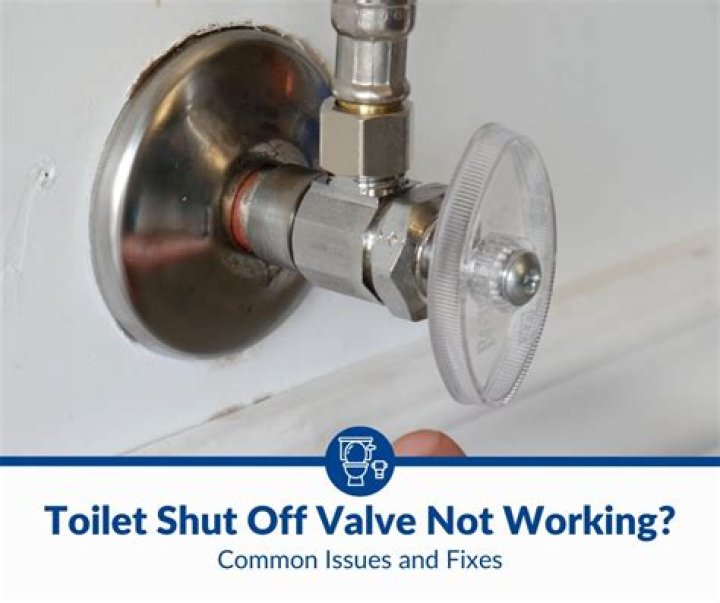
Stop Valve: This is also called the toilet supply valve because it controls the fresh water supply going into the tank. It is usually located behind the toilet near the floor, and turning it off is another way to stop an overflowing toilet because the tank cannot fill once it is turned off.
How much does it cost to replace a toilet shut off valve?
Install a water shut off valve: national average cost
| cost to install a water shut off valve | |
|---|---|
| National Avg. Materials Cost per valve | $34.77 |
| National Avg. Cost (labor and materials) for 1 valve | $190.92 |
| National Cost Range (labor and materials) for 1 valve | $173.71 – $208.13 |
How much does it cost to replace a main water valve?
Replacing a main water shut-off valve costs $250 to $1,000. Valves are usually just outside your home or in the basement so that they are easy to access and replace.
How much does it cost to replace a toilet fill valve?
Valve replacement can run a homeowner between $50 and $150 or more depending on local rates and minimums. A homeowner may be able to save money by doing some of these jobs him/herself. Fill valves refill the tank and bowl to the correct water levels after flushing.
How often should you replace fill valve?
about five years
Toilet fill valves last about five years, sometimes longer, depending on the quality of the valve, how often the toilet is flushed, and the quality of a home’s water supply. Like any valve constantly exposed to water, eventually a fill valve can clog or leak.
Can a shutoff valve be repaired?
Pull the handle off the shutoff valve using the screwdriver. Unscrew and remove the valve. Screw in the new valve from the repair kit. Tighten the gland nut back over the new valve with the wrench.